How the layout works
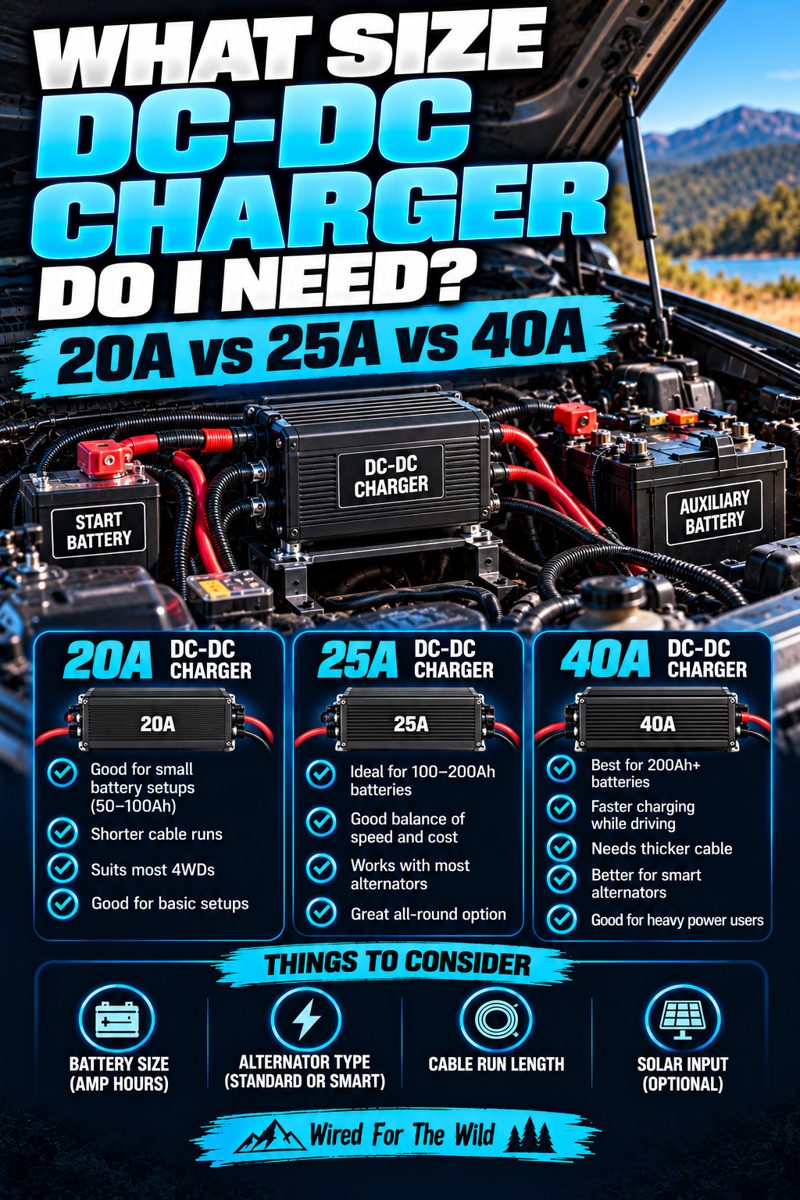
- The alternator charges the start battery as normal.
- The start battery positive runs through a fuse near the start battery to the DC-DC charger input.
- The charger output runs through a fuse near the auxiliary battery to the auxiliary battery positive.
- The charger and both batteries have solid earths to the chassis.
- Your 12V fuse box is fed from the auxiliary battery through its own fuse, so your camping gear never drains the start battery.
Get these right
- Fuse every positive cable at the battery end, sized to the cable and charger.
- Use cable thick enough for the current and run length. Use a voltage drop calculator and aim for under 3%.
- Crimp lugs with a proper crimper and seal them with heat shrink.
- Connect the ignition wire if you have a smart alternator.
- Follow your charger's manual for fuse sizes. If you're unsure, get an auto electrician to check your work.
Gear picks
12V fuse box with blade fuses
- Feeds fridge, lights and USB
- Fed from the auxiliary battery
As an Amazon Associate I earn from qualifying purchases. Prices and availability are shown on Amazon.